Why Use Natural Lip Balm: Reasons for Everyday Lip Protection
DIY Natural Lip Balm Recipes: Create Your Own at Home
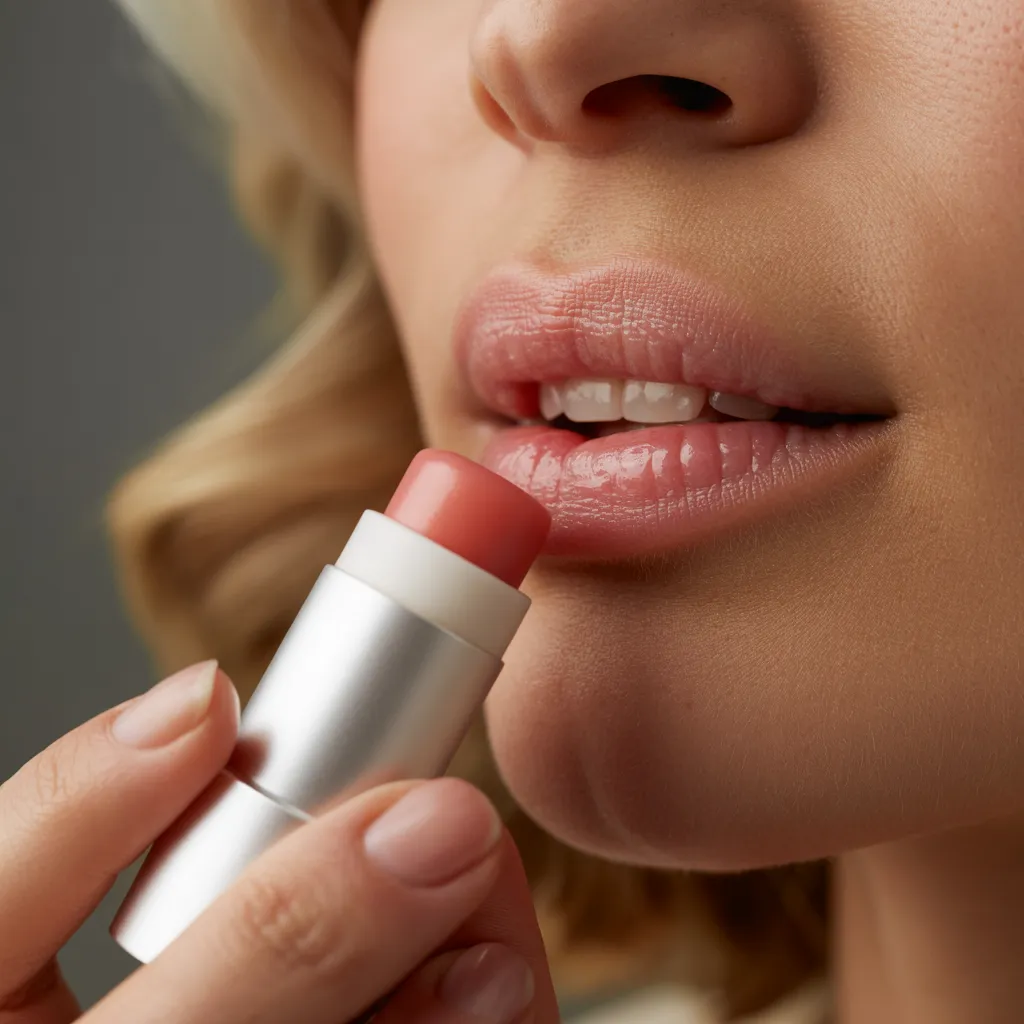
Crafting your own DIY natural lip balm is more straightforward than you might imagine. With just a few key ingredients, you can produce a product suited to your liking. Picture the satisfaction of making a balm that not only nourishes but also reflects your personal style. If you're wondering about the essential components and the process, continue reading to discover how easy it is to begin your lip balm journey.
Why Select DIY Natural Lip Balm?
By selecting DIY natural lip balm, you not only achieve control over the ingredients but also make certain you're applying products free from harmful chemicals. You can customize your lip balm to match your personal preferences, confirming it feels and smells just right for you. Plus, making your own balm related resource can be a fun and creative experience, letting you to experiment with different flavors and textures. You might discover that it reduces expenses too, as store-bought options can be overpriced. By crafting your own lip balm, you're additionally reducing waste from packaging, which is a small but meaningful step towards sustainability. Ultimately, DIY lip balm allows you to prioritize your health and the environment while indulging in a bit of self-care.
Crucial Components for DIY Natural Lip Balm
Crafting your own natural lip balm means you'll need to know the essential ingredients that make it successful and enjoyable to use. Begin with a base of beeswax or a plant-based alternative like candelilla wax, which offers structure and stability. Next, incorporate a copyright oil, such as coconut or sweet almond oil, to supply moisture and nourishment. For extra benefits, consider using shea butter or cocoa butter for enhanced hydration. Essential oils, like peppermint or lavender, can add fragrance and soothing properties, but use them cautiously. Finally, a touch of honey or natural sweetener can enhance flavor. By choosing high-quality natural ingredients, you'll create a lip balm that's not only powerful but also a joy to use.
Complete Guide to Preparing DIY Lip Balm
Making your own lip balm is a straightforward and fulfilling process that can be done in just a few easy steps. First, collect your key ingredients: beeswax, coconut oil, and shea butter. Portion out one part beeswax, one part coconut oil, and one part shea butter. Next, heat these ingredients together in a double boiler over low heat, blending until fully combined. Once heated, remove from heat and pour the mixture into lip balm containers. Allow it to cool and solidify, which typically takes about 30 minutes. Finally, label your containers if you like and place them in a cool, dry place. Enjoy your all-natural lip balm, knowing it's created with dedication!
Unique Flavor and Scent Blends for Your Lip Balm
Once you've created your basic lip balm, it's time to upgrade it with wonderful flavors and scents that showcase your personality. You can mix essential oils like peppermint for a refreshing kick or vanilla for a warm, comforting aroma. For a fruity variation, try adding a few drops of lemon or orange oil. If you're feeling adventurous, blend in some cinnamon or clove for a spicy scent. Don't forget about herbal notes—think lavender or rosemary for a tranquil touch. You can also experiment with natural flavorings like cocoa powder for a chocolatey treat or honey for a touch of sweetness. Just remember to keep your mixtures balanced, ensuring no single scent overshadows the others. Have fun creating your unique lip balm!
Customizing Your Lip Balm Recipe: Helpful Tips
While you might have a basic lip balm recipe down, customizing it can genuinely make it your own. Start by experimenting with different copyright oils like jojoba or sweet almond oil for increased nourishment. You can also modify the beeswax amount for a harder or creamier texture, depending on your preference. To boost the flavor, try adding essential oils such as peppermint or vanilla; just don't forget to use them sparingly. For extra hydration, mix in a bit of honey or shea butter. Don't neglect to take into account colors—adding natural colorants like beetroot powder can make your lip balm more visually appealing. Finally, keep notes on your adjustments so you can recreate your favorite blends in the future!
Storing and Preserving Your Lip Balm
Once you've customized your lip balm to your liking, it's crucial to concentrate on how to preserve and store it correctly. Start by pouring your balm into sanitized containers, like small tins or lip balm tubes. Ensure the containers are airtight to stop contamination. Keep your lip balm in a dark, cool place, away from heat and direct sunlight, which can result in melting or deterioration. If you've used perishable components, consider keeping your balm in the fridge to increase its shelf life. Always label your containers with the date you prepared them, so you know when to use them by. With correct storage, you can benefit from your homemade lip balm for several months!
Typical Lip Balm Problems and How to Correct Them
Even the best DIY lip balms can face issues, but don't worry—most problems are simple to resolve. If your balm becomes too hard, heat it again and add a bit more oil. For a balm that's too soft, try adding more beeswax. If you notice separation, it may not have cooled evenly; simply remelt and stir completely before pouring into containers. A gritty texture could mean incomplete melting of ingredients; heat it gently and mix well. Last but not least, if your balm feels greasy, decrease the amount of oil in your next batch. With these easy adjustments, you'll create a smooth, nourishing lip balm that keeps your lips happy and healthy!
FAQ
Can I Incorporate Essential Oils in Lip Balm?
Certainly, essential oils work wonderfully in lip balm! Make certain to choose skin-safe oils and apply them in moderation. They will contribute lovely scents and properties, enhancing your lip balm experience remarkably. Happy experimenting!
How Long Will Homemade Lip Balm Stay Fresh?
Handmade lip balm generally lasts between six months and a year, depending on the ingredients you use. Store it in a dark, cool place, and always check for any alterations in scent or texture before applying.
Can Those with Sensitive Skin Use It Safely?
Yes, it's safe to use on sensitive skin, particularly if you pick natural ingredients. Just try a small amount first, and if any irritation develops, cease use. Always focus on your skin's overall health.
Can I Use Colorants in My Lip Balm?
Indeed, colorants are usable in your lip balm. Simply ensure they're lip-safe and suitable for cosmetic use. Natural choices like using mica or beetroot powder provide gorgeous colors without harmful chemicals. Have fun experimenting!
Should You Be Aware of Any Ingredient Allergies?
It's important to consider allergies while selecting your ingredients. Beeswax, shea butter, and essential oils are frequent allergens that may cause reactions. Always test a small amount and consult with others if you're unsure about specific ingredients.